Cedar Strip Mold
The process starts here..View it below!
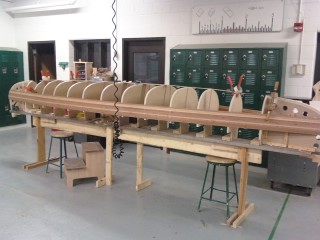
*keep in mind that the canoe is constructed upside down until all of the cedar strips are laid.

The first few strips stapled into place.

A few more...

About 15 staples per strip...about 80 strips total...half way there.

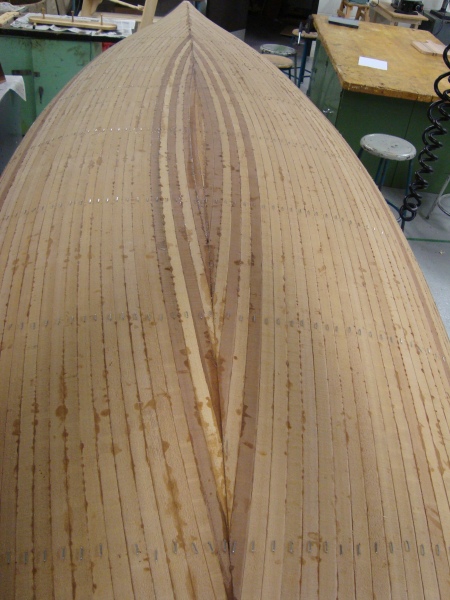
This picture was taken with 27 strips per side. The contrasting wood pattern is just for looks and added character.

This is a view from the inside where my cedar strips hit one of the stations. The use of shims allow for less breakout from the staples and provide more curvature.

I've hit a point now where I have to build up one side at a time until i get to the center of the canoe. Then i finish the other side.

Stapling on the last few strips to complete one side.

The beginning stage of using the block plain to create a nearly perfect straight line.

One side is completely done. After three hours of hand planing (using a chisel and block plane) I cut away the access wood to the center line to create a straight edge, I can now begin laying strips to finish the other side.

Cutting the rest of the strips was a chore. It was time consuming and consisted of merely a trial and error method.

After this experience, I've realize that I dont enjoy hand-cut compound angles at all.

After the last strip is glued into place.

The mold complete.

Here are two very much appreciated helping hands removing the 1300+ staples.
Now that my mold is complete, I will start a new page on the sanding and fiberglassing process. Check back soon!
Saturday, December 20, 2008 at 2:49 am |
[…] soon til if floats? By Spence Check out my latest project here! In progress, my 16 foot cedar strip […]
Thursday, January 1, 2009 at 1:08 pm |
I’m so very proud of you. What high school boy makes a huge canoe and then gives all the money back to the school!?! Only you…
Wednesday, January 7, 2009 at 11:38 pm |
Nice pictures Spence……Grandpa would be proud!!! I know I am!!!
Thursday, January 8, 2009 at 9:29 am |
Very cool! I really liked your coffee table too!
Sunday, January 18, 2009 at 3:34 pm |
[…] View more pictures of the compeleted mold here! […]
Tuesday, January 27, 2009 at 7:40 am |
Hurray!!! (ps. nice change in the heading thing with all of the pictures.)
Friday, February 20, 2009 at 10:59 pm |
Dude its looking awsome. It was cool to watch all the stages. Can’t wait till its done.